Zimbra Account Manager
Denali offers hosting users the possibility of choosing between traditional mail service (standard email) and ZIMBRA mail service. As we know ZIMBRA is a powerful communication and sharing suite that allows you to manage and store large volumes of emails and even appointments, calendars, file sharing in the cloud and much more. The features are similar to those of gmail, with the advantage of having full control and possession of your data and their availability at any time. The connection to ZIMBRA is via web (https) or via imaps or smtps connection.
Through your customer area by accessing the Zimbra Mailbox product purchased, you will have the following management interface.
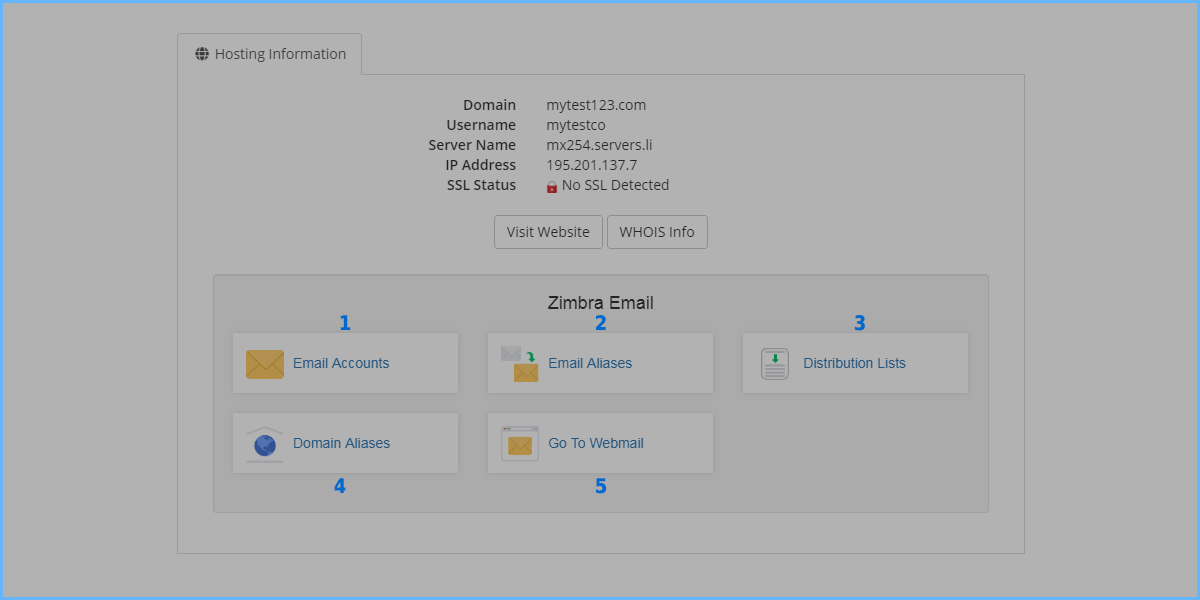
- Email Accounts: Let you manage your Zimbra account (create, modify, remove)
- Email Aliases: Let you manage mailbox aliases
- Distribution Lists: Let you manage distribution lists
- Domain Aliases: Let you manage domain aliases
- Go To Webmail: is a link to the web communication interface
Create a new Mailbox Zimbra
The mailbox management interface looks like this.

- Add Mailbox : with this button you can create your new mailbox
- These are the possible operations on the mailbox. To carry out these operations, first select the mailbox (s) on which you want to act, and then press the required action.
- Here you can get an overview of all the mailboxes on the domain.
Pressing Add Mailbox you get to the new Mailbox creation screen. The required fields are only the username of the box and the password. You can fill in all the other fields according to your needs.
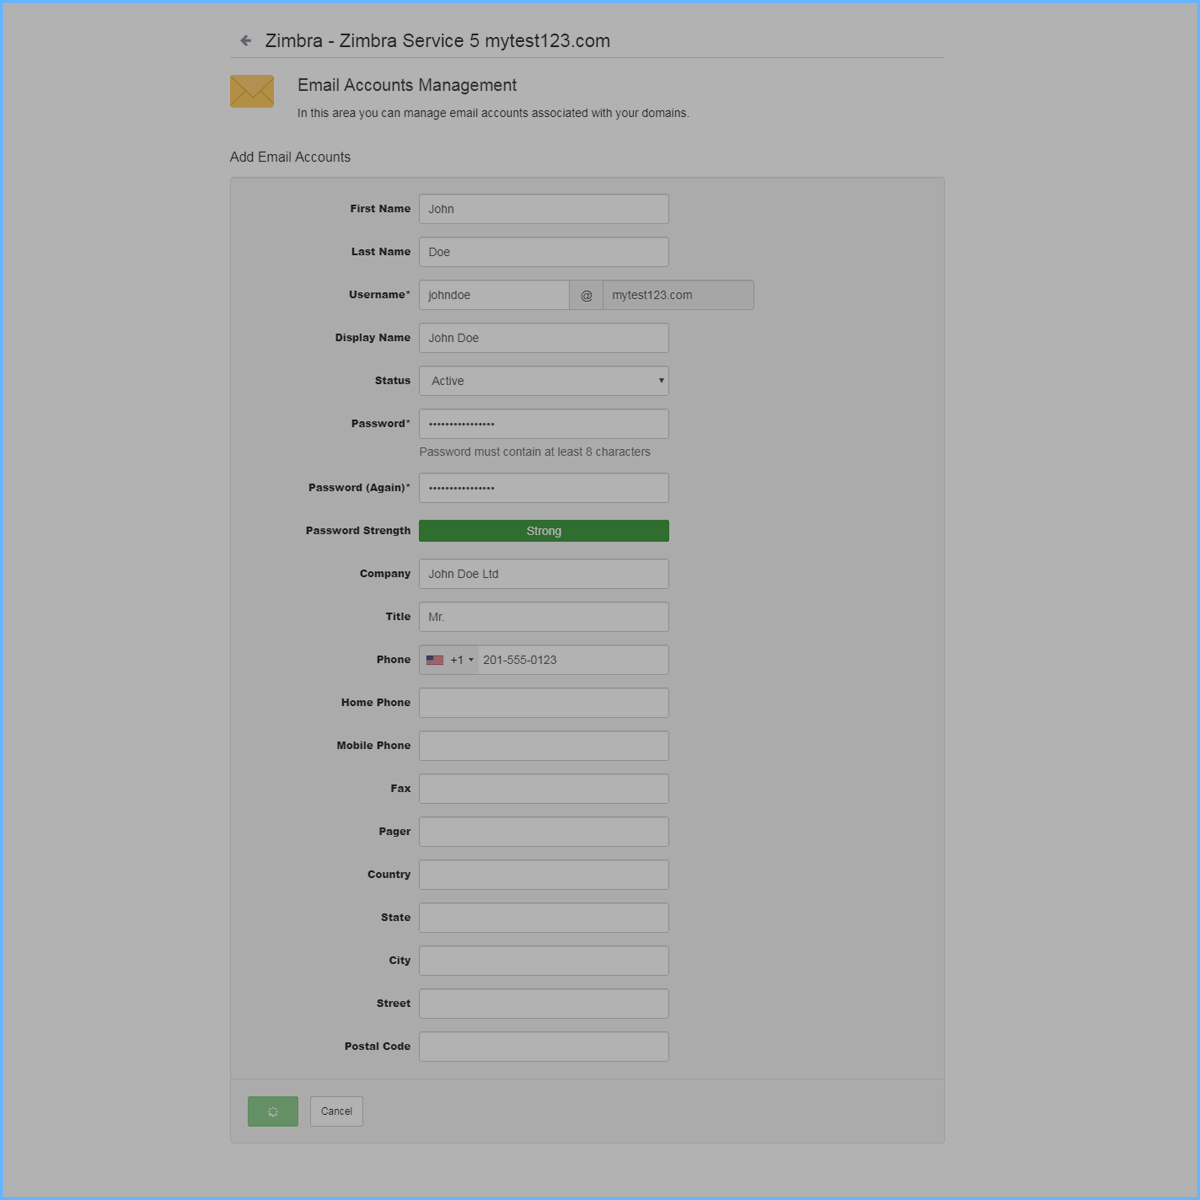
Once the compilation is complete, simply press the button Save and the box will be operational immediately.
Create a new Alias Email
A mail alias is a new user name that always refers to the same mailbox. For example, if your mailbox is johndoe@mytest123.com, a mail alias can be janedoe@mytest123.com pointing to johndoe@mytest123.com. In this way, emails sent to janedoe@mytest123.com will still be received on johndoe @ mytest123 .com. The alias management interface looks like this:
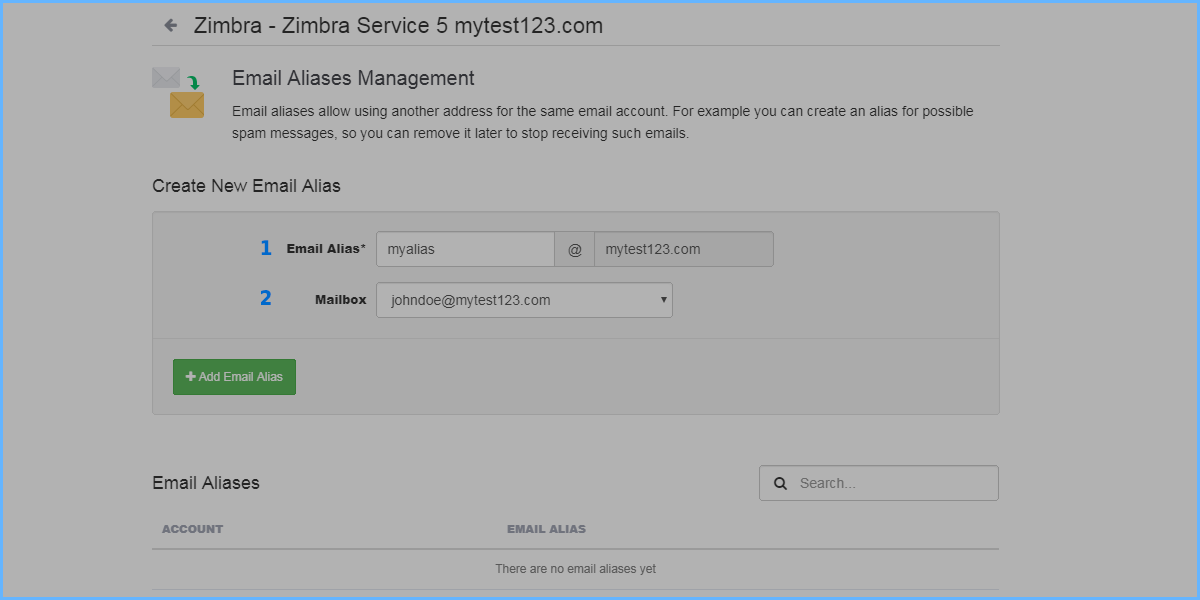
- Email Alias: it's the alias name
- Mailbox: it's the mailbox. Used as alias's destination
- When you have complete the data insert, press Save Now your alias is immediately active
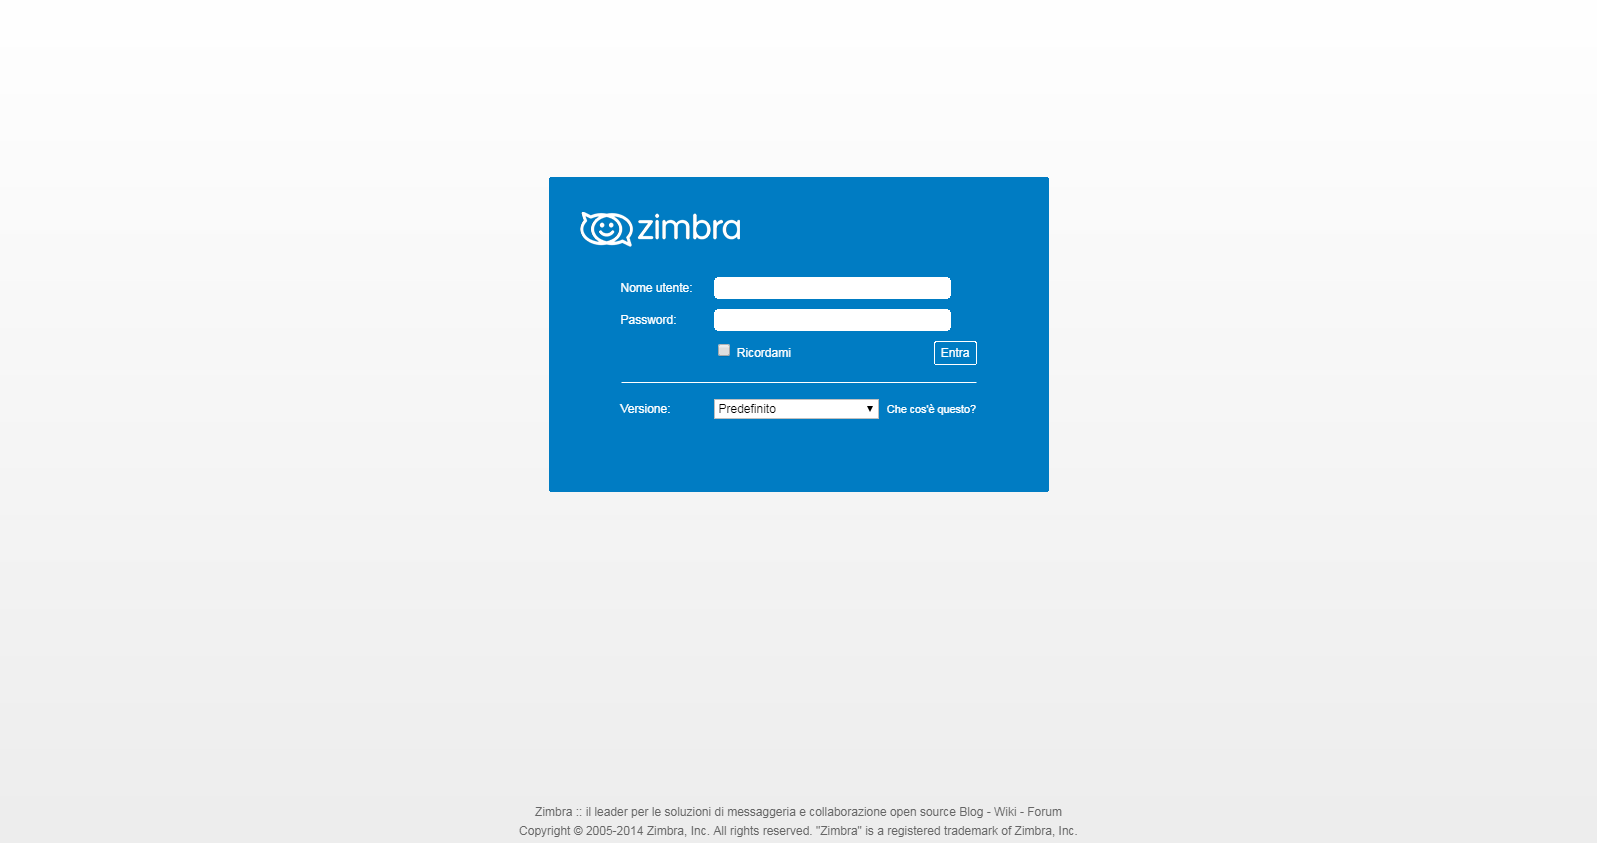
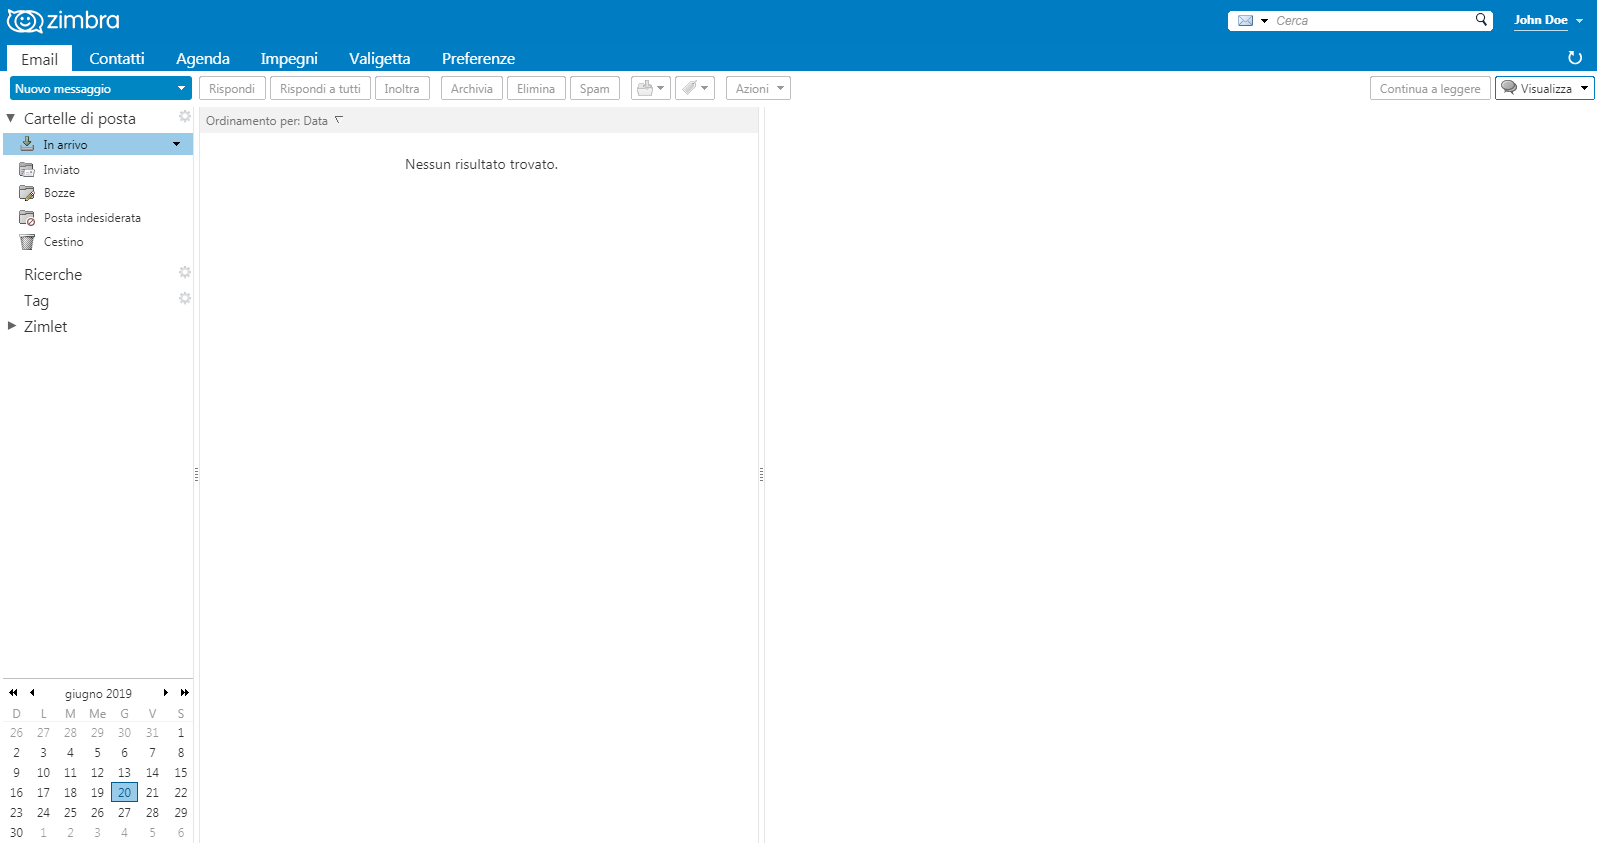
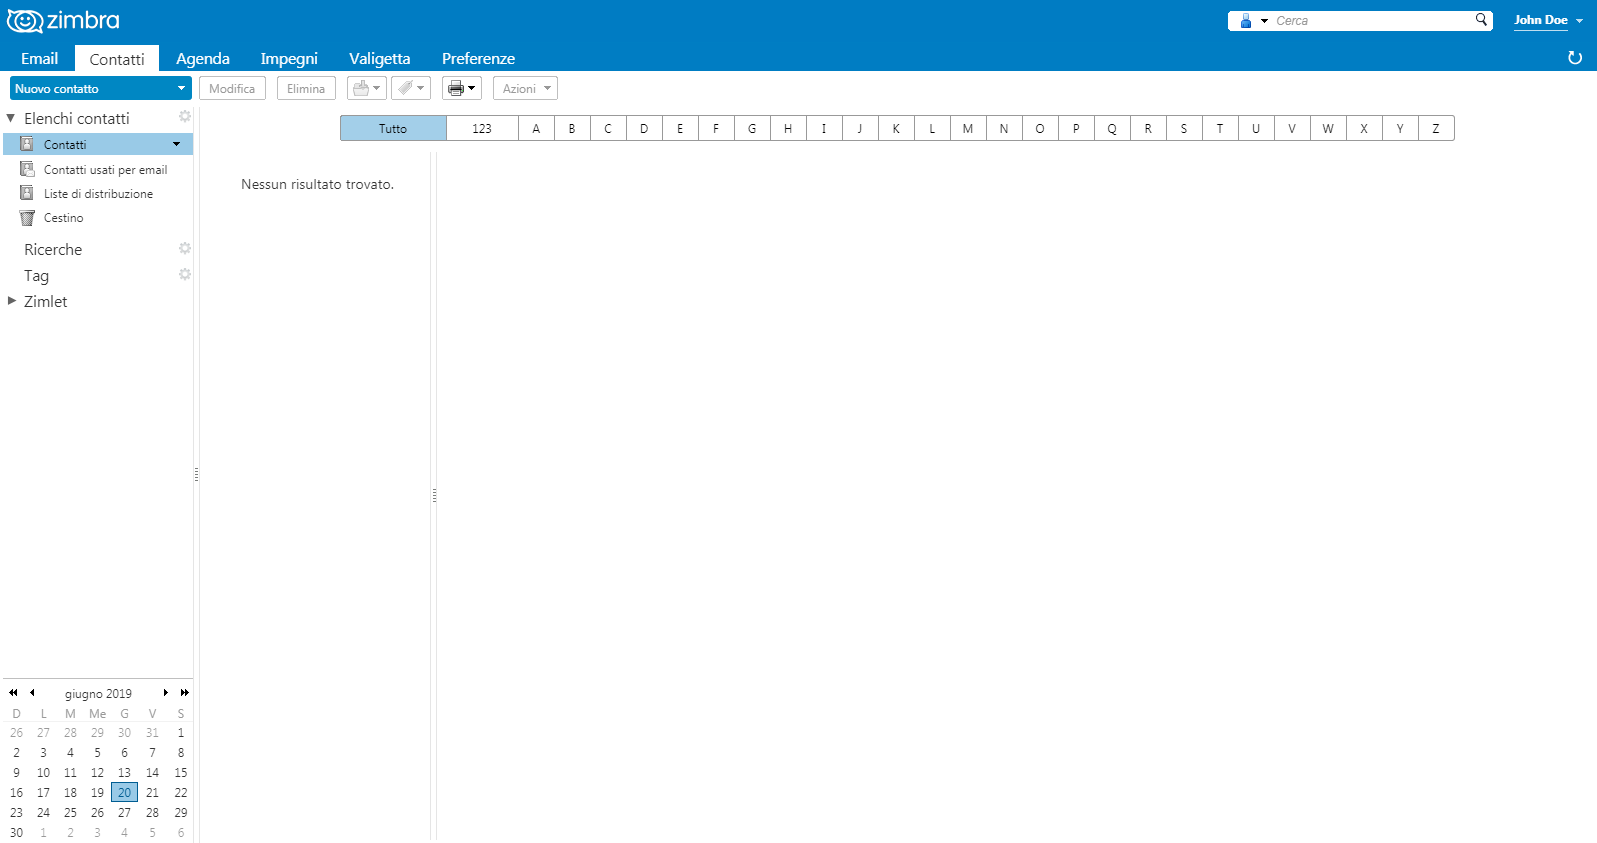
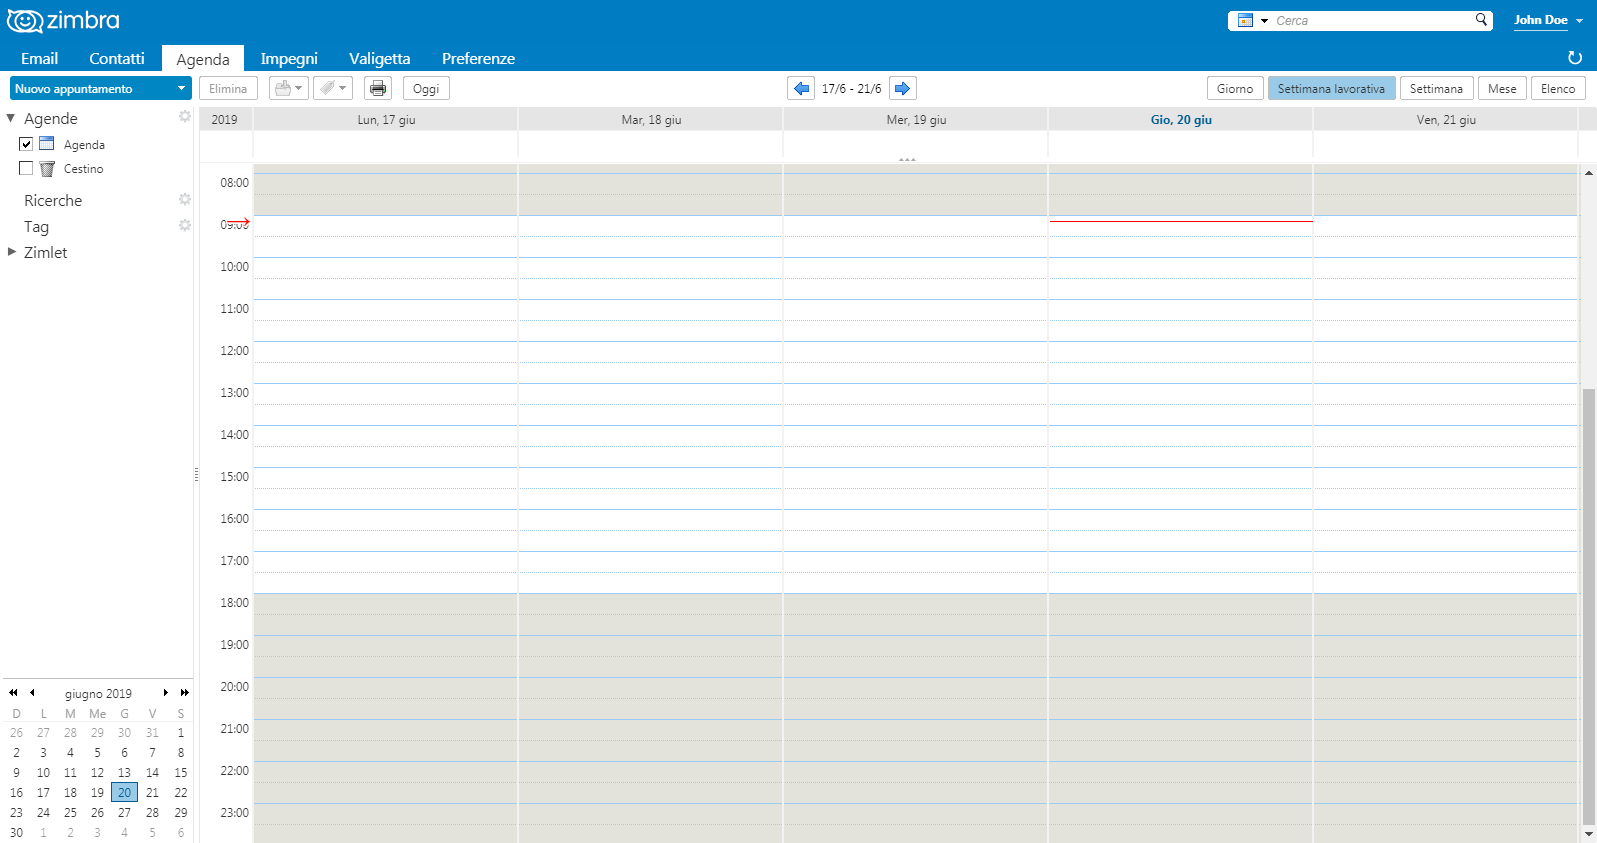
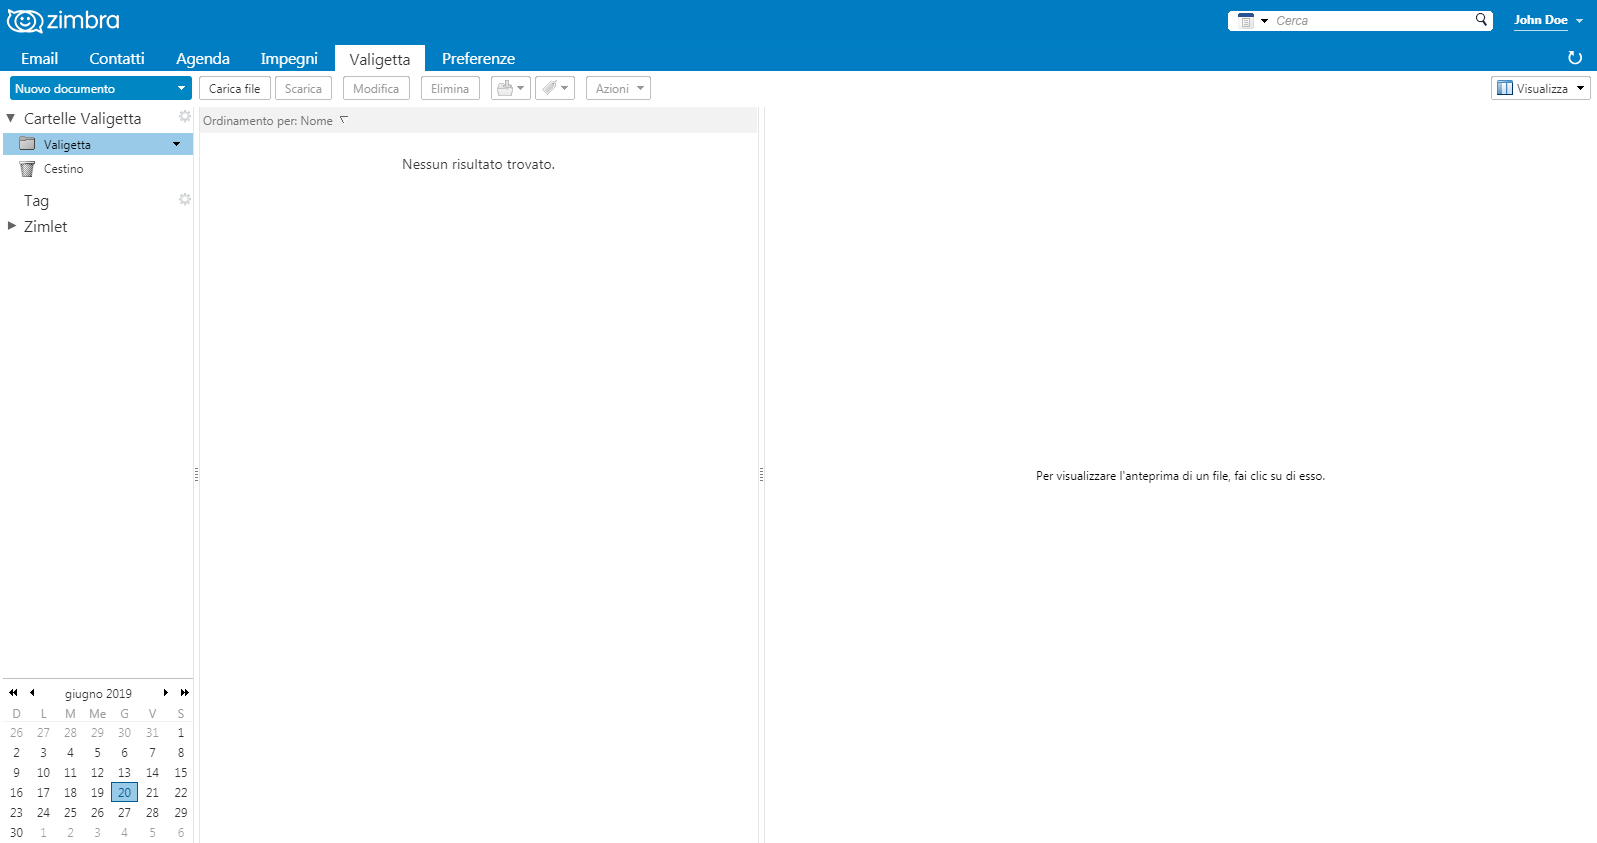
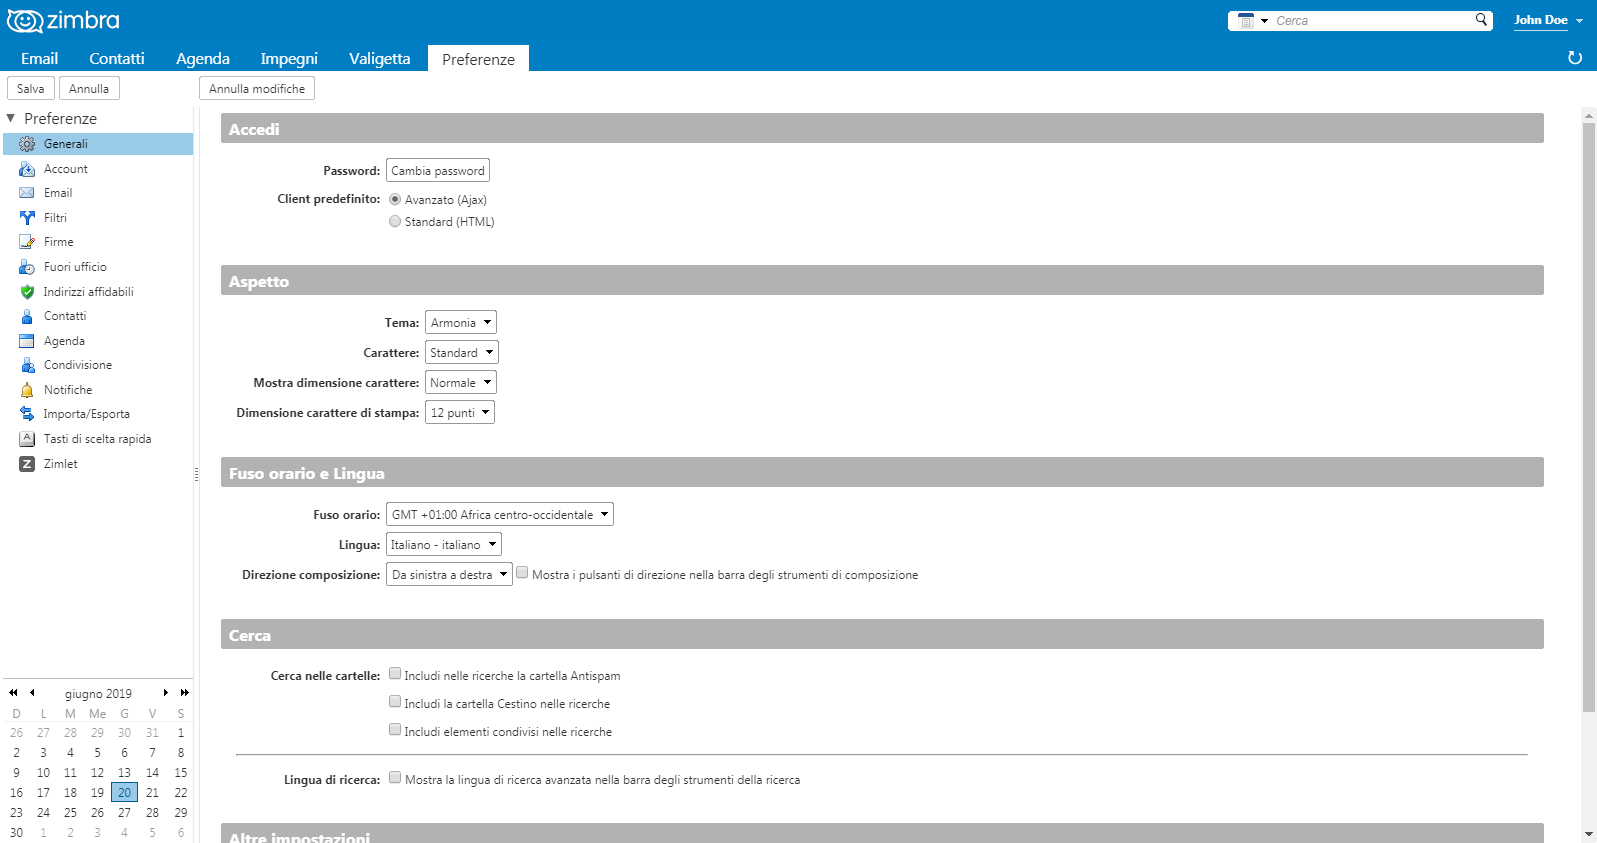
Zimbra Web Communication Interface
Some Zimbra's Web Interface Screenshot follows.